1. Find and record your nebolink serial numbers
The nebolink serial number is on the device sticker. This sticker is on the circuit board and underneath the nebolink housing, and also on the box. You will need the serial number when creating a boat in the nebofleet dashboard.
2. Connect the battery clip A and B
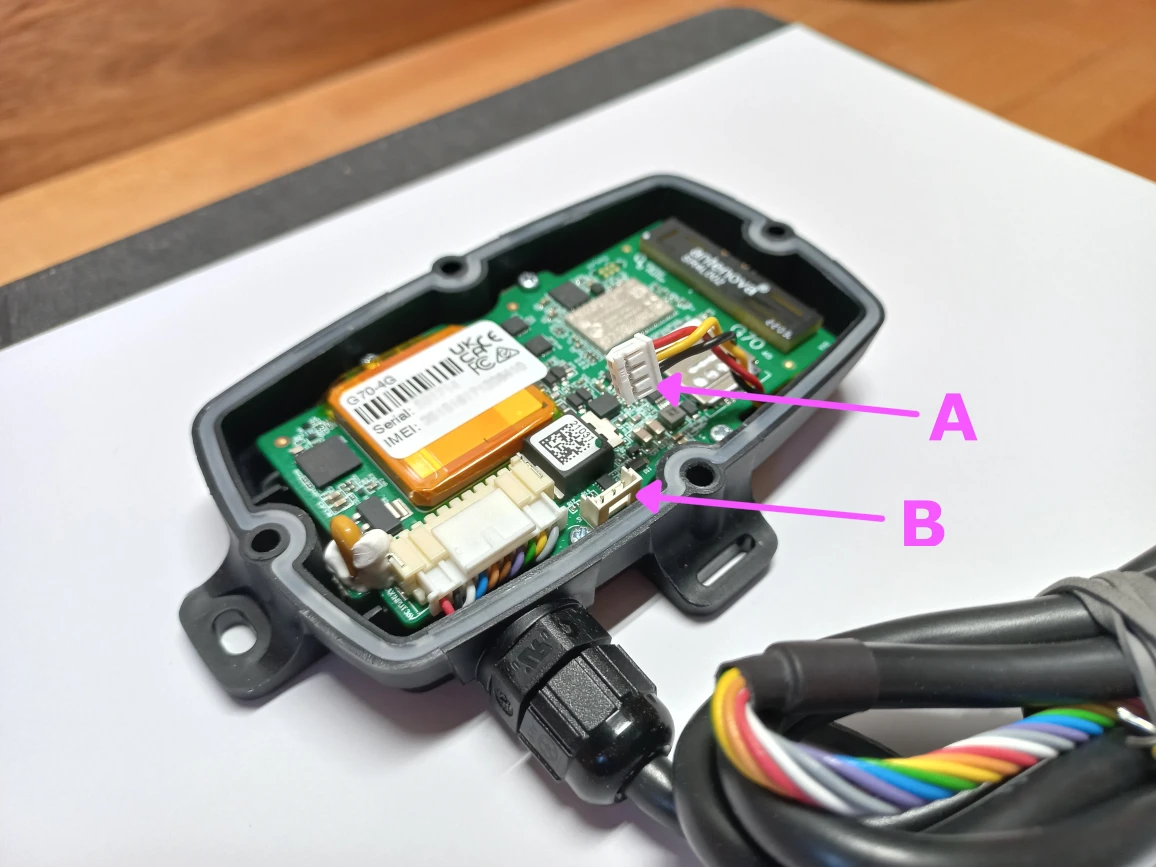
The clip fits one way only.
3. You should see a red LED on the circuit board start to flash
Provided the internal backup battery still has charge.
4. Connect to external power
Connect to a constant DC power source of between 8 and 36 volts.
The power source should be live even when the boat is switched off.
- Connect the RED wire to the power source (+).
- Connect the BLACK wire to negative (-).
- Any wires other than red and black should be ignored for now.
The nebolink has its own internal self-resetting fuse.
Note: Warranty may be void if the nebolink is not connected to a constant external power supply. More info here.
5. Seal the lid
Fasten the lid with the screws provided, ensuring a good seal.
When properly sealed, the nebolink’s ultra-rugged and waterproof IP68 and IK08 rated housing ensures the nebolink can withstand impact, fine dust, and brief submersion.
6. Placement
It is best to treat the nebolink like an antenna and put it in a good position to send and receive both GPS and cell phone tower signals. Make sure there is nothing dense (like metal) between the nebolink and the sky, this will allow for clear GPS signals which allows for optimal logging performance. The higher above the waterline the better.