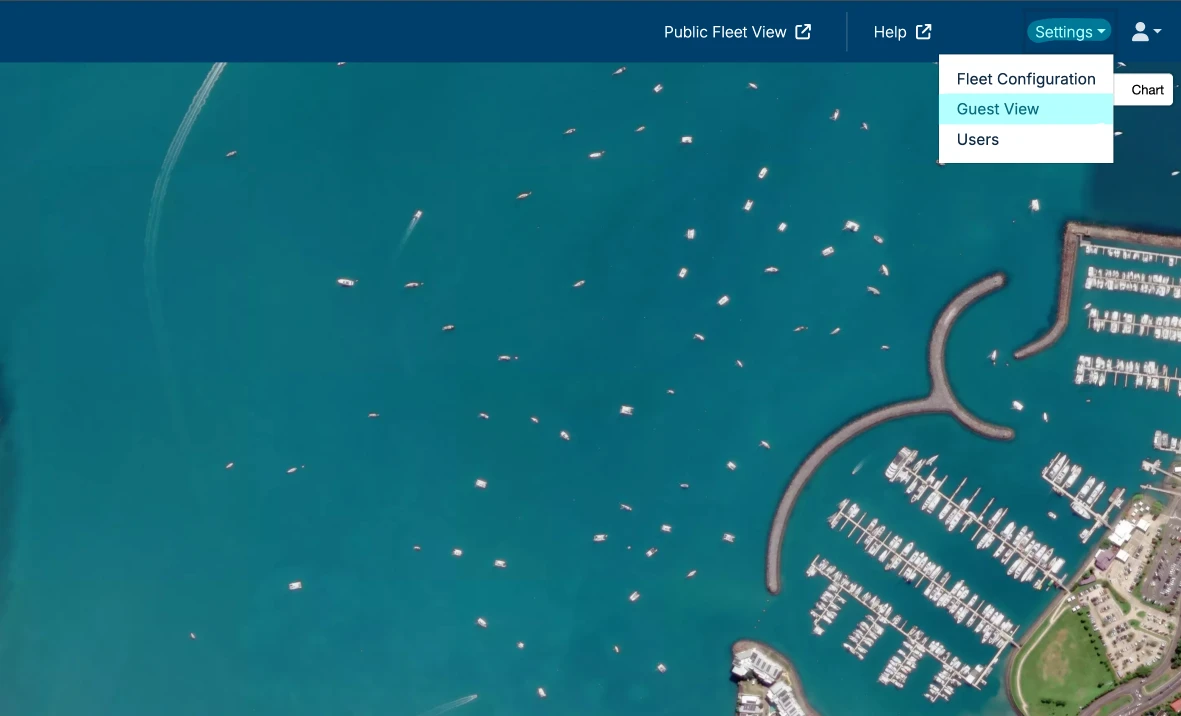
Nebo Fleet's Guest View provides members or guests on your boats with an enhanced on-water experience.
By scanning a QR code with their phone, they can instantly see their live location on a map, along with restricted areas, points of interest, and recommended routes to follow. This keeps your guests safer and more engaged throughout their journey.
It is simple to add Places, Restricted Zones, and Routes, allowing you to quickly update them as conditions change through the season.
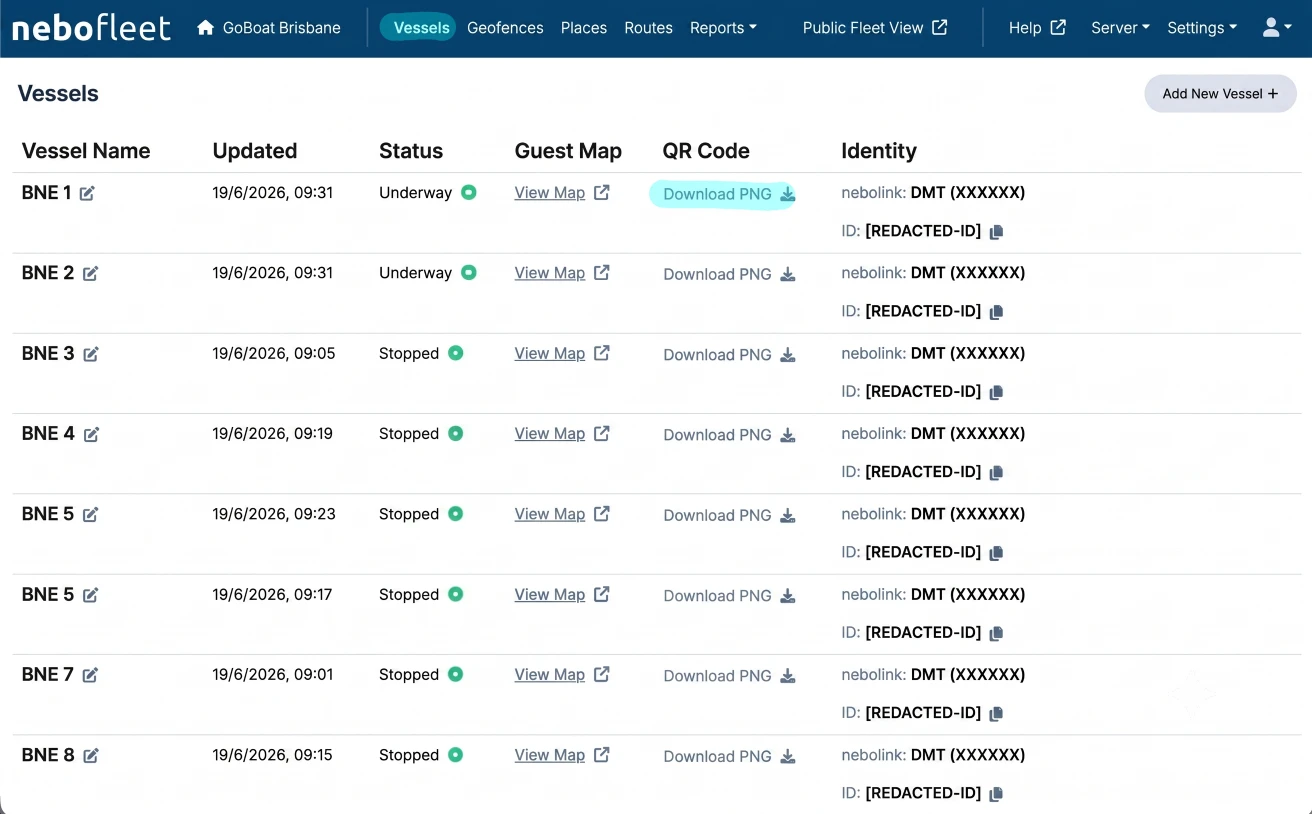
1. Download Vessel QR Codes
Navigate to the Vessels tab in the main navigation to download each vessel's unique QR code. Find the correct vessel in your list and download its QR code file.
You can physically print and fix the QR code to each vessel (similar to QR codes on cafe tables) or include it directly in your hardcopy or emailed informational packets.
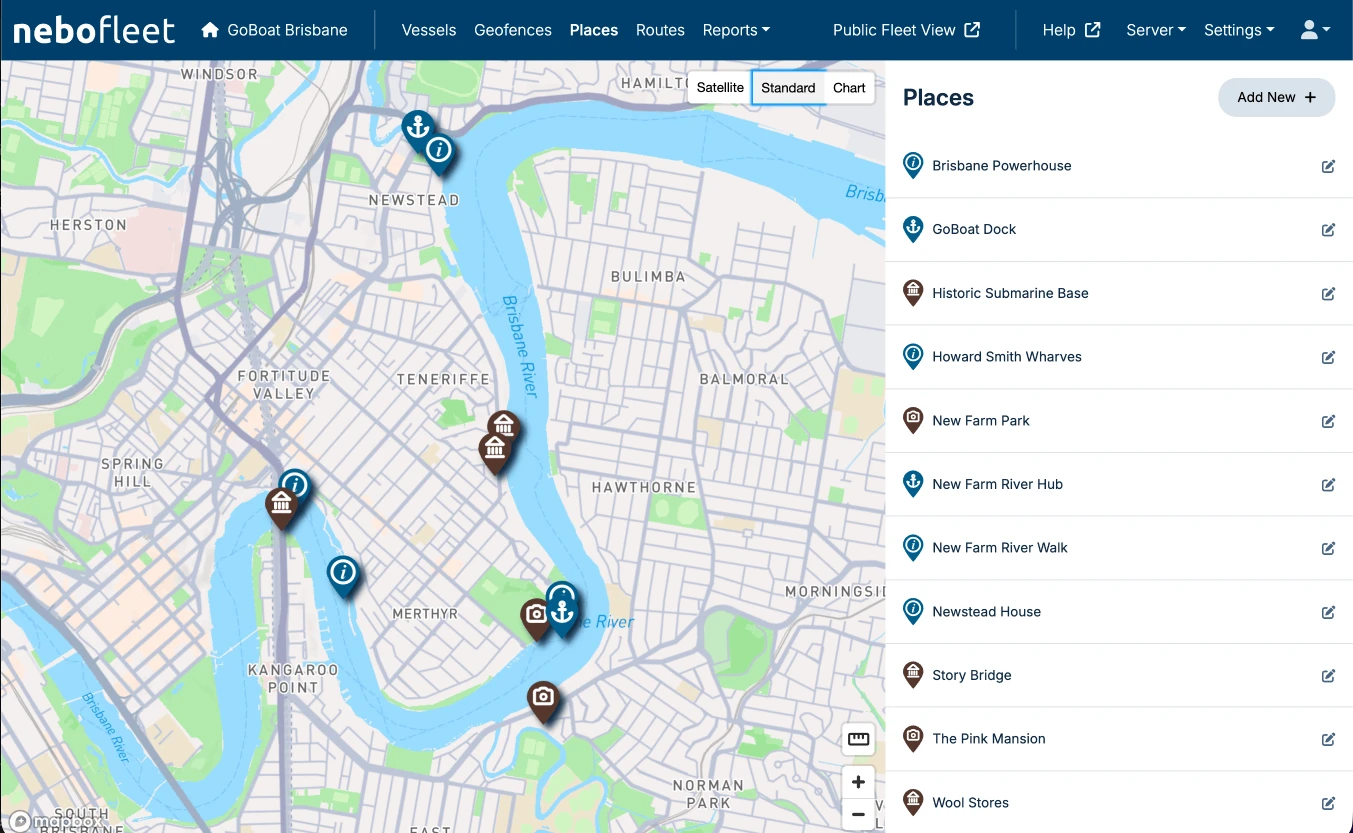
2. Add Points of Interest
Open the Places tab in the main navigation to add points of interest (POIs). This is an excellent way to share important local info, safety notices, or interesting landmarks with your guests and members.
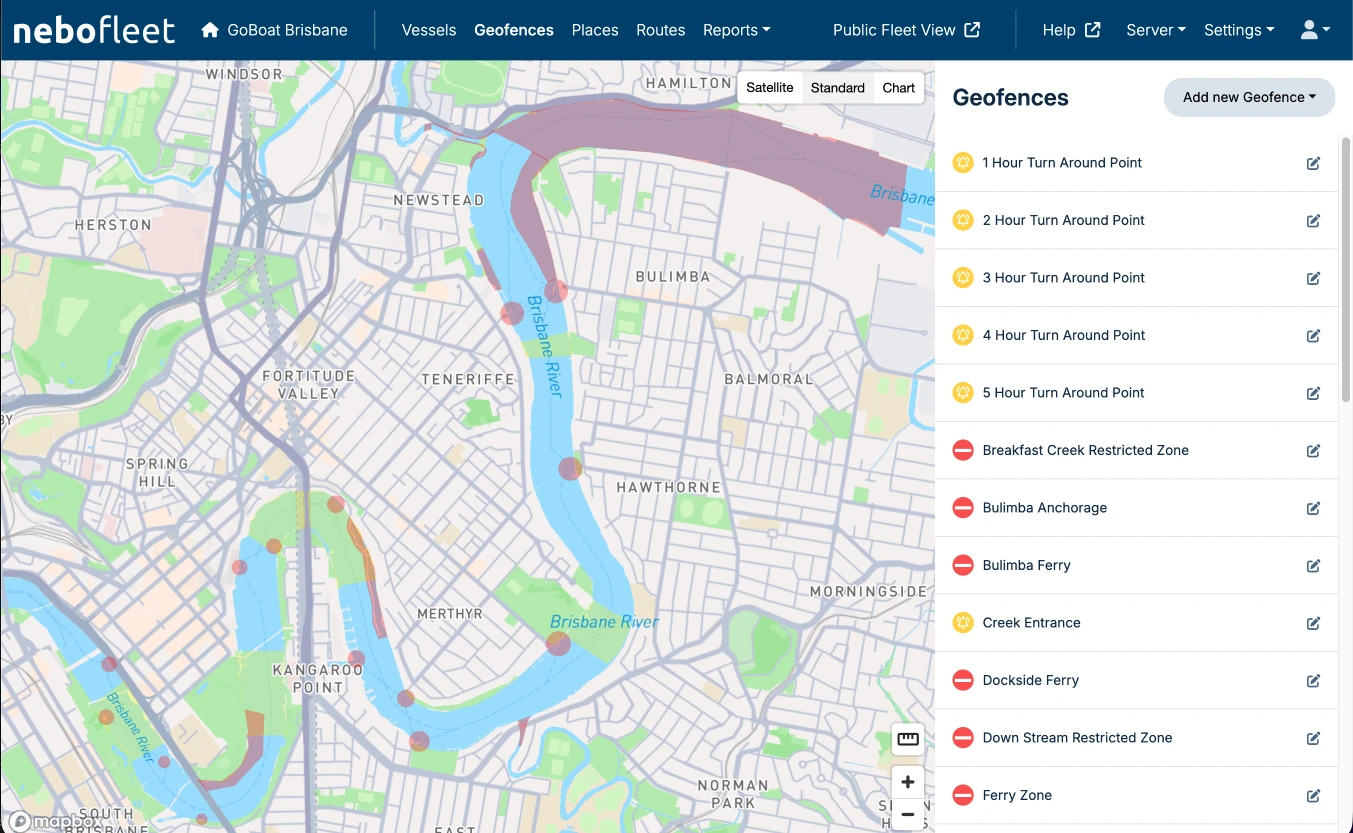
3. Add Restricted Zones
Navigate to the Geofences menu to add "Restricted Zones". These zones will be clearly visible to guests on their digital maps so they know exactly which areas to keep away from.
4. Create Recommended Routes
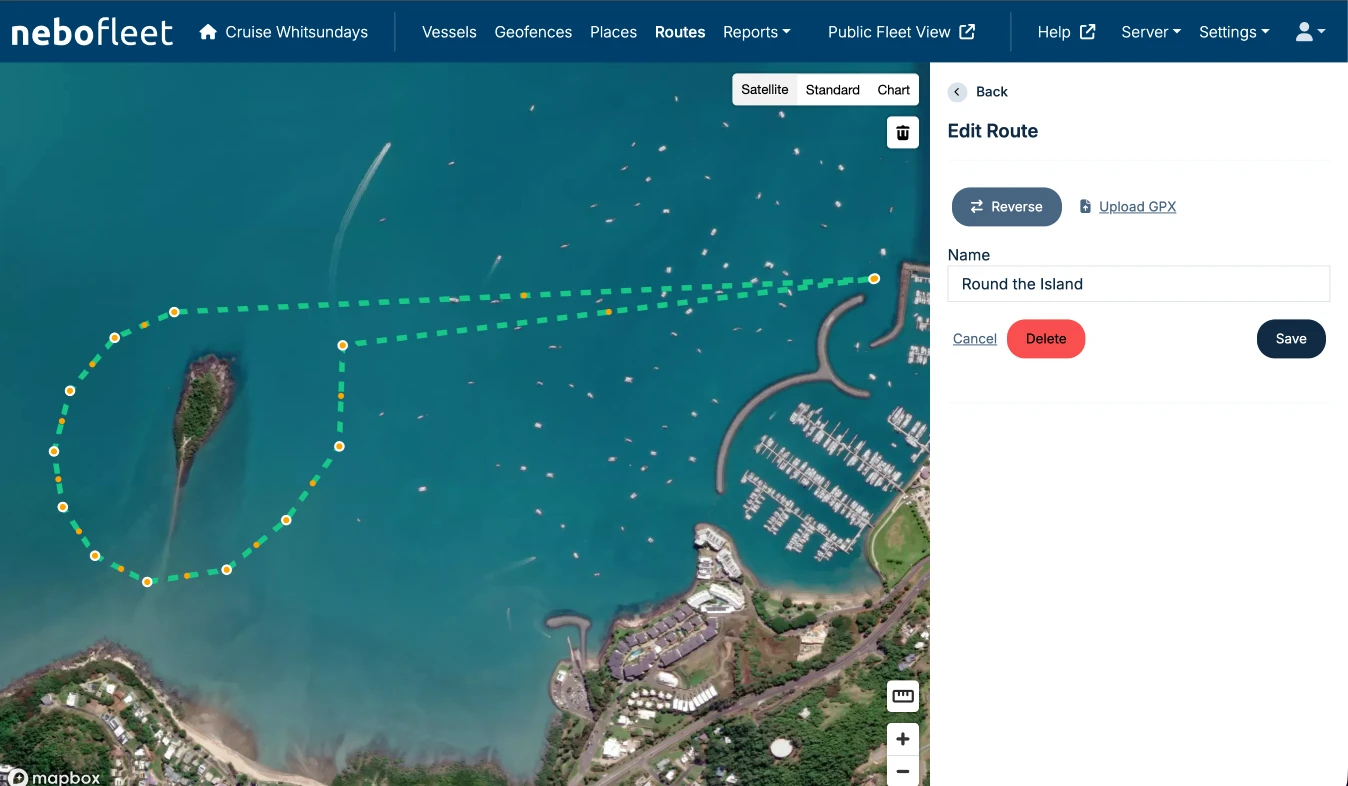
Open the Routes menu to add recommended paths for your fleet. You can add as many recommended routes as you like, giving guests options they can choose to follow directly on their phones.
Examples of routes: "2-hour cruise"
5. Configure Guest View Settings
Finally, open the Settings > Guest View menu to configure exactly what your guests or members are able to see on their screens during their trip.