In the nebofleet dashboard, if all features are enabled, you will see the Places tab.
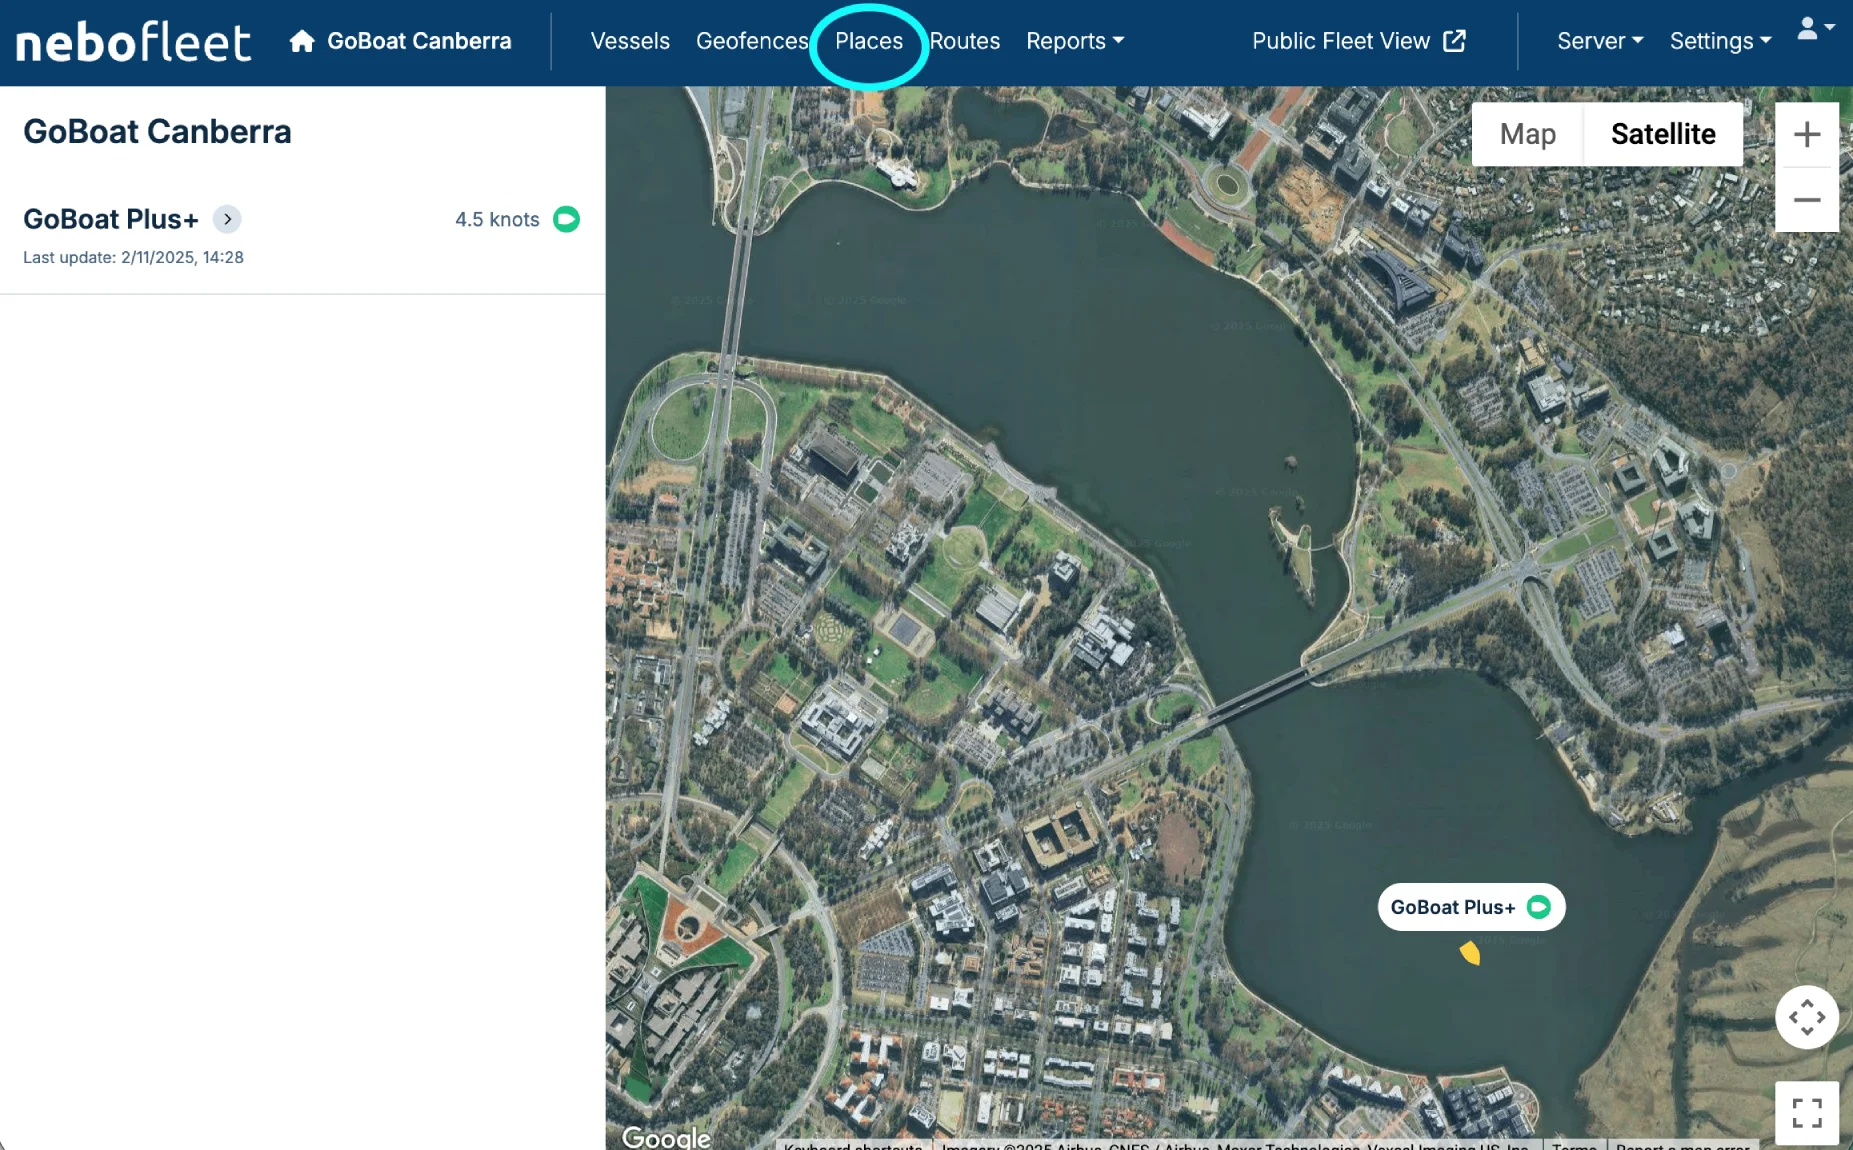
1. Open the Places Tab
Click on the Places tab in the main navigation.
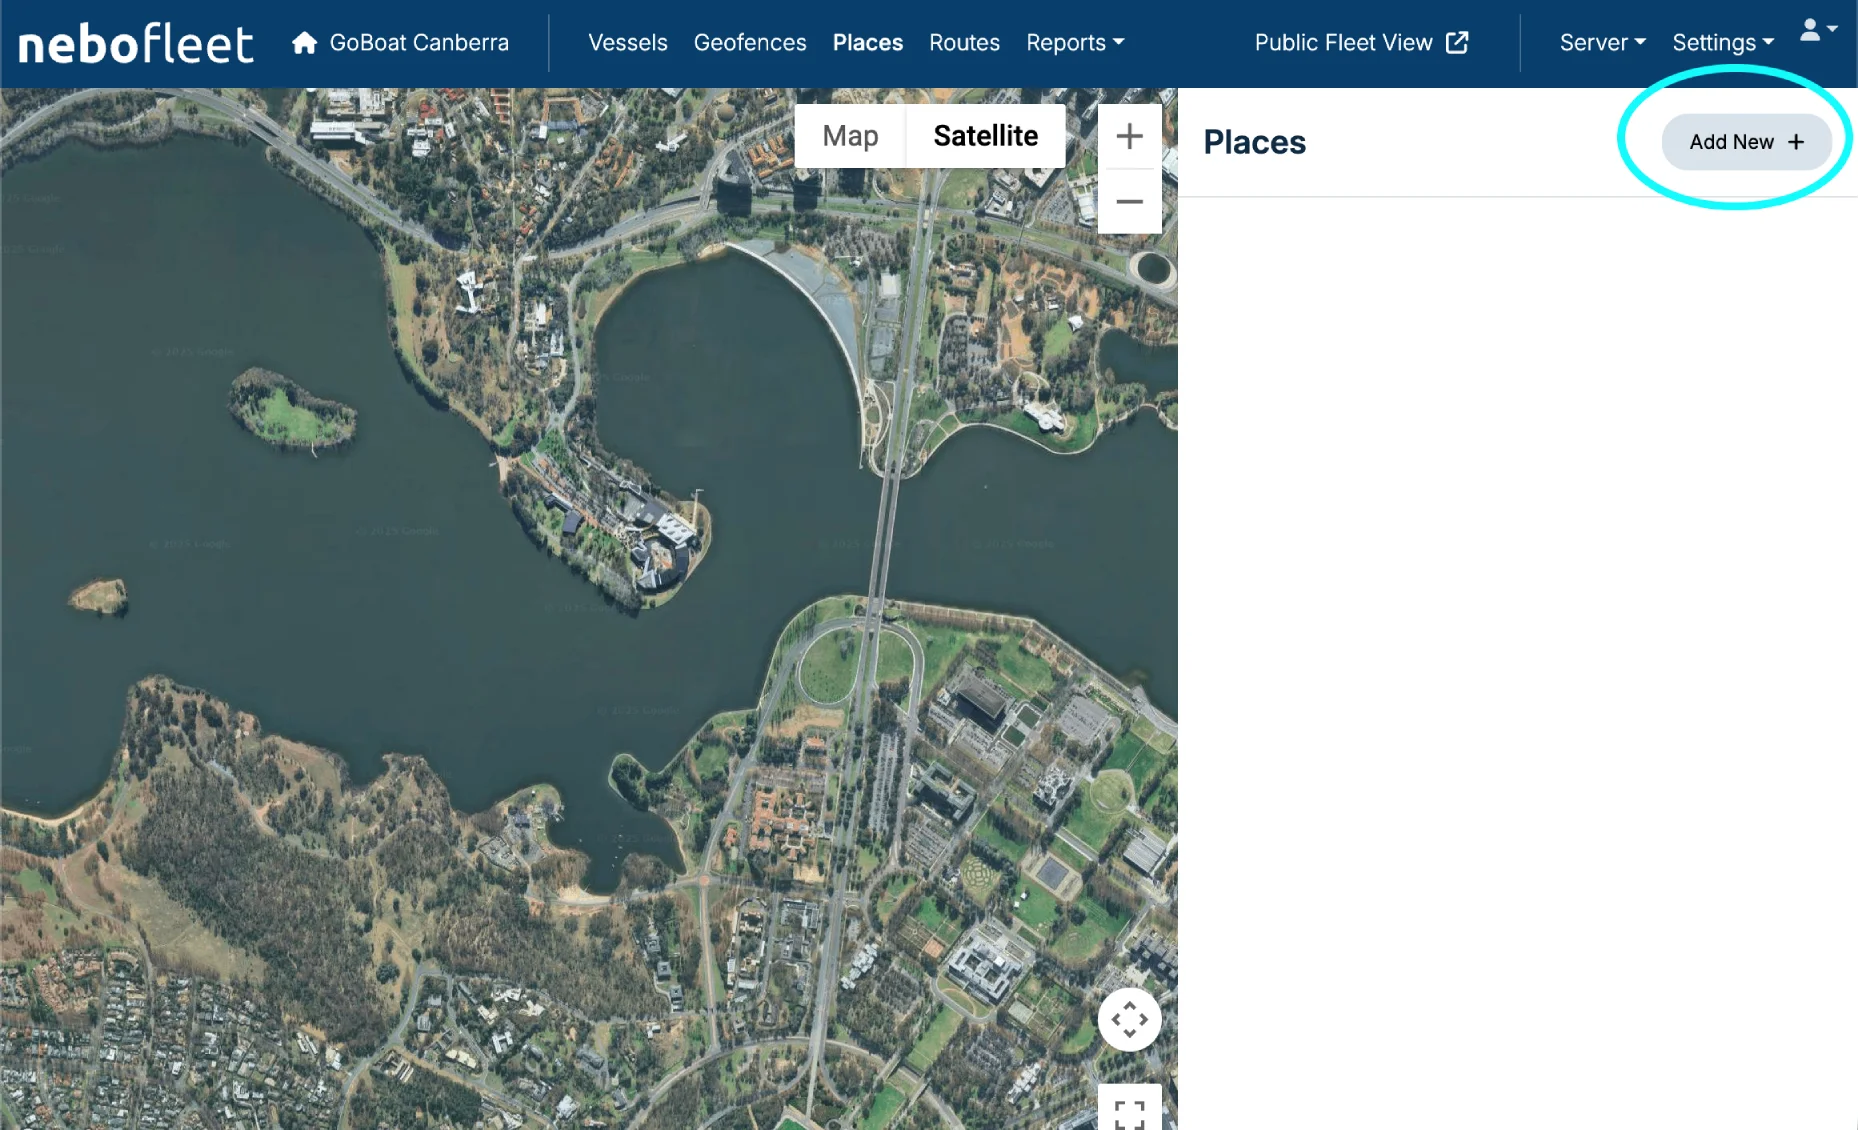
2. Add a New Place
On the Places screen, to add a new place of interest, click Add New.
3. Position the Marker
A marker will be placed on the map (as seen circled in the image below in light blue).
On your own dashboard, you are able to click and hold this marker to drag it around the map. As you drag it, you will notice the location coordinates changing in the Location form field on the right.
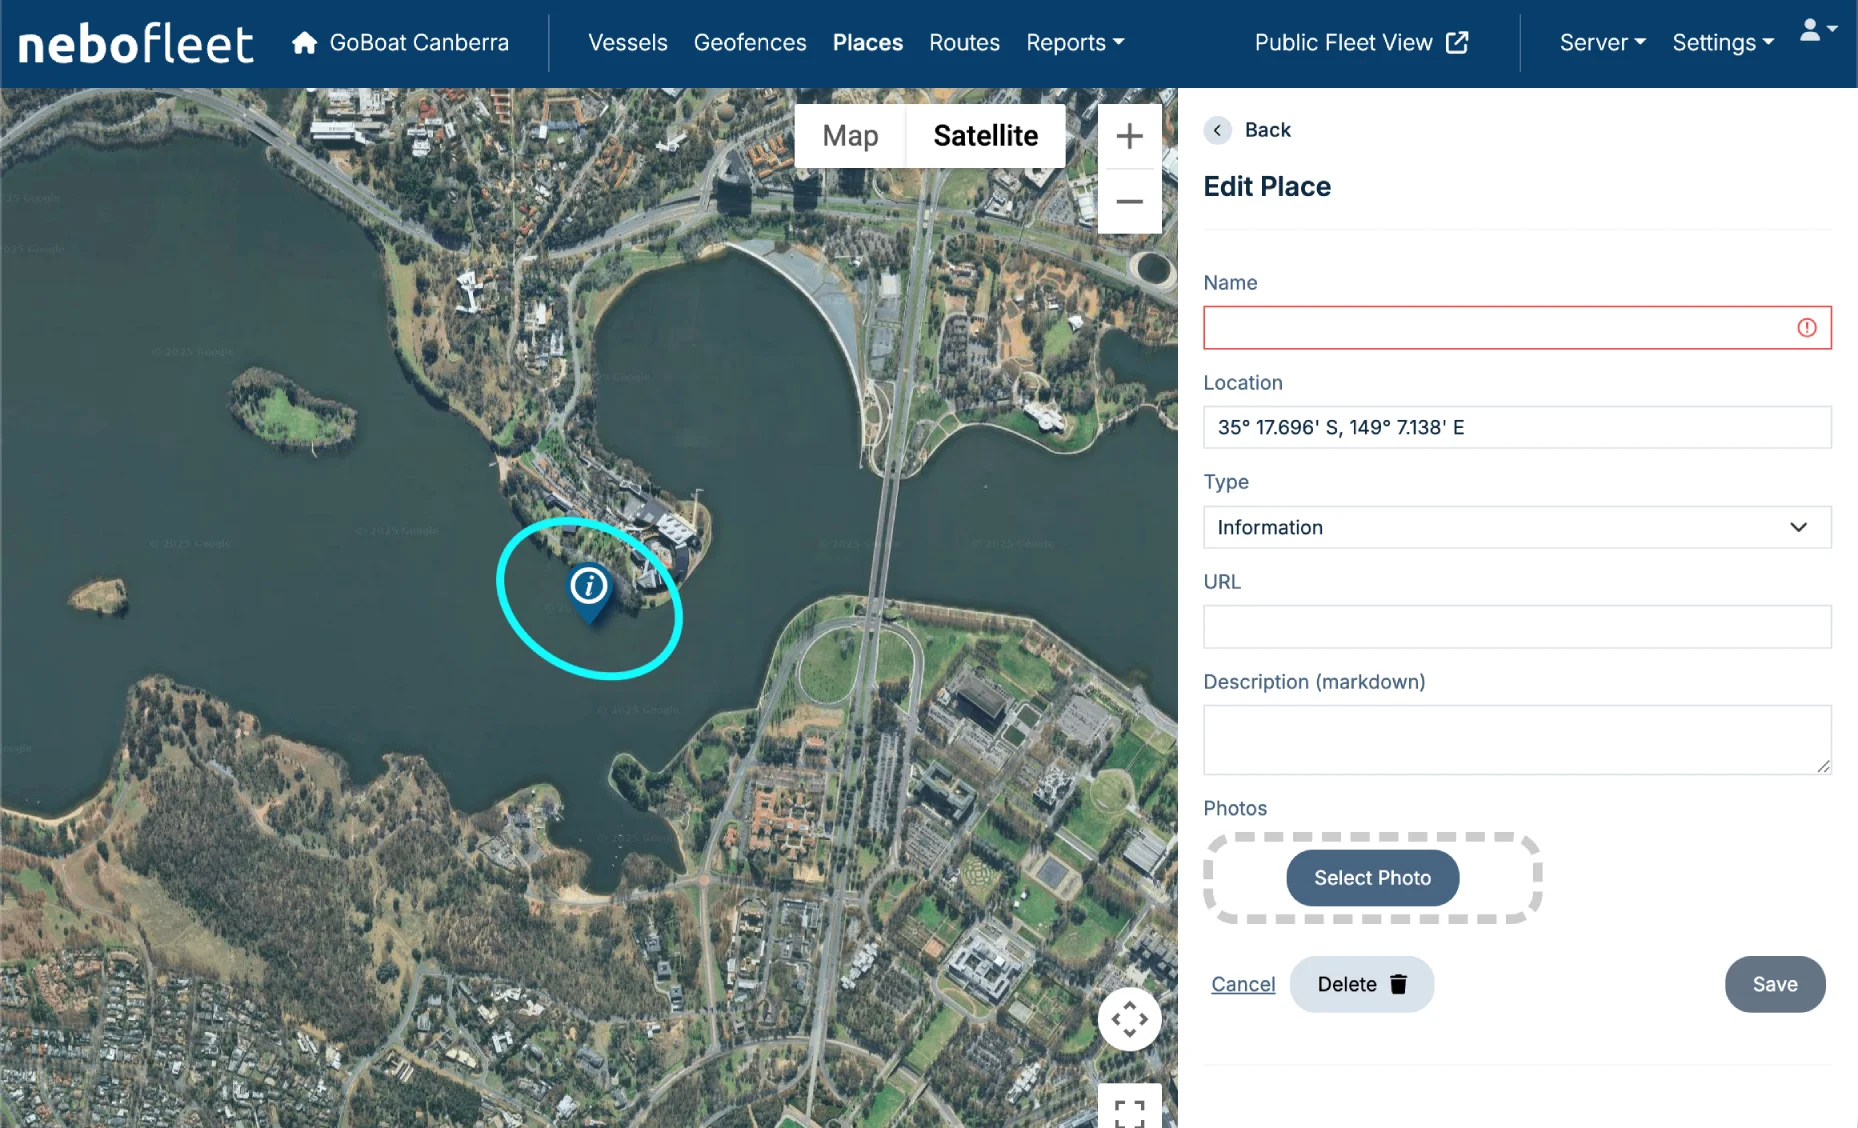
4. Complete the Form Fields
You can use the form fields on the right to configure the details of your place of interest:
- Name the Place of Interest (POI).
- Enter a Location (or simply drag the location marker to the desired location on the map).
- Choose the Type of marker from a drop-down list.
- Include a URL so that users can visit a relevant website to get more information about the place of interest.
- Add a Description for users to see. You can use markdown to add text decoration (more info on Markdown here).
- Add Photos of your place of interest.
5. Save Your Place
When you are finished editing the POI, click Save. You can always edit these fields later after saving.